Include Author Name
Include an author name on the lower-right corner of an image.In this howto, we will detail the usage of the following transformations:
- annotate
We want to process an image so that it is displayed with a name in its bottom-right corner.
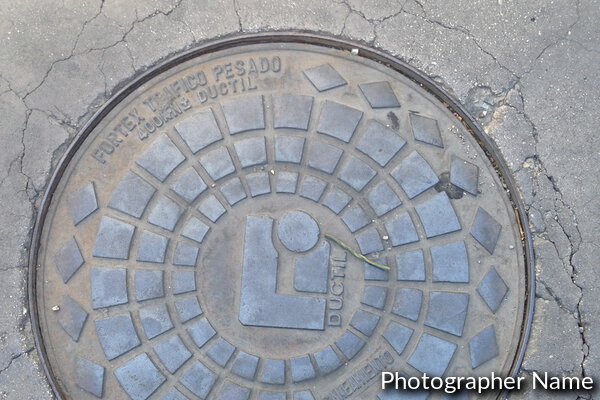
We will use the following image:

Name Stamp
Now let us annotate it with a “name” and snap that to the bottom-right corner:
We will choose a font from the available list here. We will use Lato (f:Lato).
The default font size if 24, and we set it for completeness (s:24).
We will give the annotation a border (sw:4) so that it is legible on both “light” and “dark” imagery.
We will use a white font (c:white) with a black border (sc:black).
Put the text on the bottom-right corner, and give it 5 pixels of room from the image border (o:southest,5,5).
All you need to know about annotations
&annotate=t:Photographer+Name*f:Lato*s:24*o:southeast,5,5*c:white*sw:4*sc:black

Other Options
Blurring the border for a shadow effect
We will apply some border blur and offset it a little bit for a drop-shadow effect.
Extra information:
*sb:4 => Blur the border for a shadow effect.

*so:-3,-3 => Offset the border.
Notes on the coordinate system
The coordinate system for placing and moving things around will depend on the snapping point being used.
As a rule, positive coordinates will move towards the center of the image, meaning if the snapping point we are using right now is southeast, then a positive x value will go left, and a positive y value will go up.
In the case of a southwest snapping point, a positive x will go right, and a positive y will go up.
Below are the moving directions for the different snapping points:
| Snapping point | coordinate | positive moves | negative moves |
|---|---|---|---|
| northwest | x | right | left |
| y | down | up | |
| north | x | right | left |
| y | down | up | |
| northeast | x | left | right |
| y | down | up | |
| west | x | right | left |
| y | down | up | |
| center | x | right | left |
| y | down | up | |
| east | x | left | right |
| y | down | up | |
| southwest | x | right | left |
| y | up | down | |
| south | x | right | left |
| y | up | down | |
| southeast | x | left | right |
| y | up | down |